This is how to build your own ice hockey rink
During the winter there are few activities that are more fun than going ice skating. Below we will guide you step by step to your very own ice hockey/ice skating rink. A perfect place for play, ice hockey or figure skating.
1. Measure the area


Measure how large the area for your ice hockey rink should be. The size of the rink will impact the amount of work you have ahead of you. Perhaps you don’t want it to be too big, but at the same time it should be a hockey rink that is fun to skate on. Also ensure that there is space along the long sides of the rink so that you have the opportunity to shovel snow away.
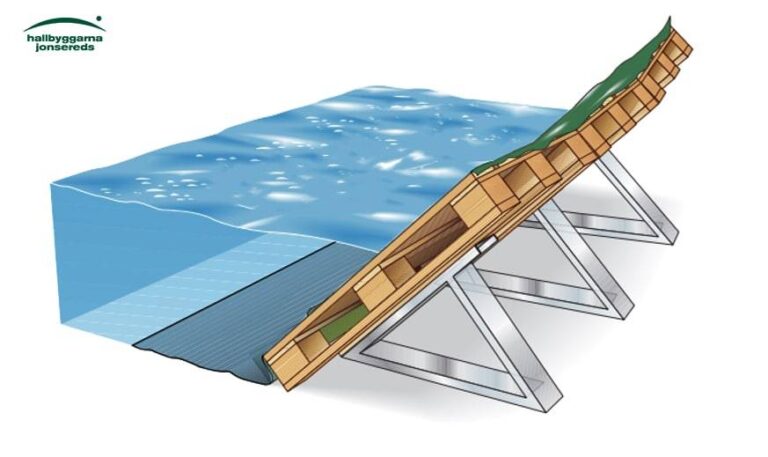
2. Assemble the wooden frame


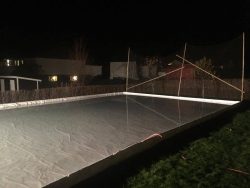
In our next step it is time to do some carpentry. In our example facing boards are used for the frame with battens in the corners. Join together the facing boards with the material you have available. Join the boards together into a rectangle according to your dimensions. If your lot is at an incline you may want to put some paving slabs underneath. It is important that the rink is at an equal height so the water that you then fill it with does not run over the edge. The frame must be approx. 20-30 cm high and sticks up a bit once the rink is ready.
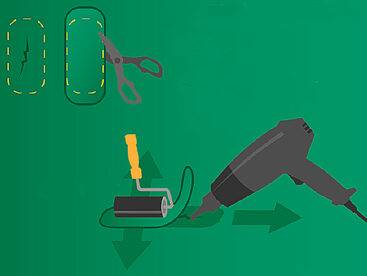
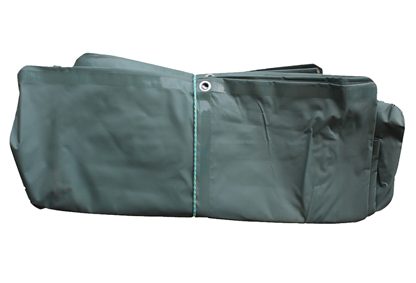
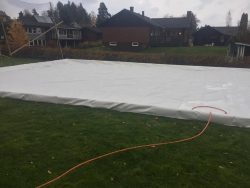
3. Choose the right tarpaulin

Now it is time to lay the foundation for your ice hockey rink, the tarpaulin. Choose a tarpaulinthat is several metres larger than each side of what your hockey rink is. This is so that you can be able to fold the tarpaulin under the frame. In our example a 250g/m2 tarpaulin is used, which is 10×20 metres. It is important that the tarpaulinis high quality. It is recommended that the weight of the tarpaulin is over 200g/m2 so it is able to withstand the forces from the water and not leak, as you will then need to refill with water many times if it does not freeze in time. In our example an easy to manage tarpaulin of 250 g/m² is used. Keep in mind not to select a tarpaulin that is too heavy as it can be difficult to put it into place. A tarpaulin that is too light, less than 200g/m², will not work and in all likelihood, it will be unusable for the following season. Once the tarpaulin is in place, fold it under the frame so that it forms a dam where the water will stay.
4. Fill with water and wait for it to get cold

Once the tarpaulin is in place just wait for the right weather and begin filling the hockey rink with water. During the time, check that no water leaks from anywhere and keep in mind that you should adjust the rink before you have filled it with too much water. You may need to flush the ice several times before it lays well.
5. Decorate and have fun!
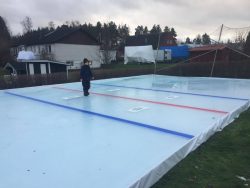
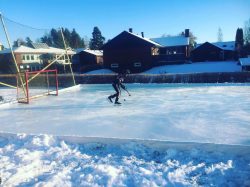
Once the ice has frozen, your imagination is the only thing that sets the limits. Colour the ice and flush it once more to create lines. One important detail you should not forget during this dark time of year is illumination. Congratulations, now your new home constructed ice hockey rink/artificially frozen ice rink is ready to be used for figure skating, ice hockey and much more!
Order your tarpaulin today! Find the right tarpaulin in our webshop!